Monthly and yearly TunnelBear subscriptions are set to automatically renew unless you cancel them in advance. Here are instructions on how to cancel your subscription based on where it was purchased:
Subscriptions purchased on the TunnelBear Website
If you paid with your credit card, log into your account and select the "Overview" tab. There you'll see the option to change or cancel your subscription. Click "cancel" and run through the steps. You should receive a confirmation email when the cancellation has been processed.
NOTE: If you purchased a two-year or three-year plan, you do not have to cancel a subscription. These are non-recurring plans and will not automatically renew.

Step 1: Click on "Cancel"

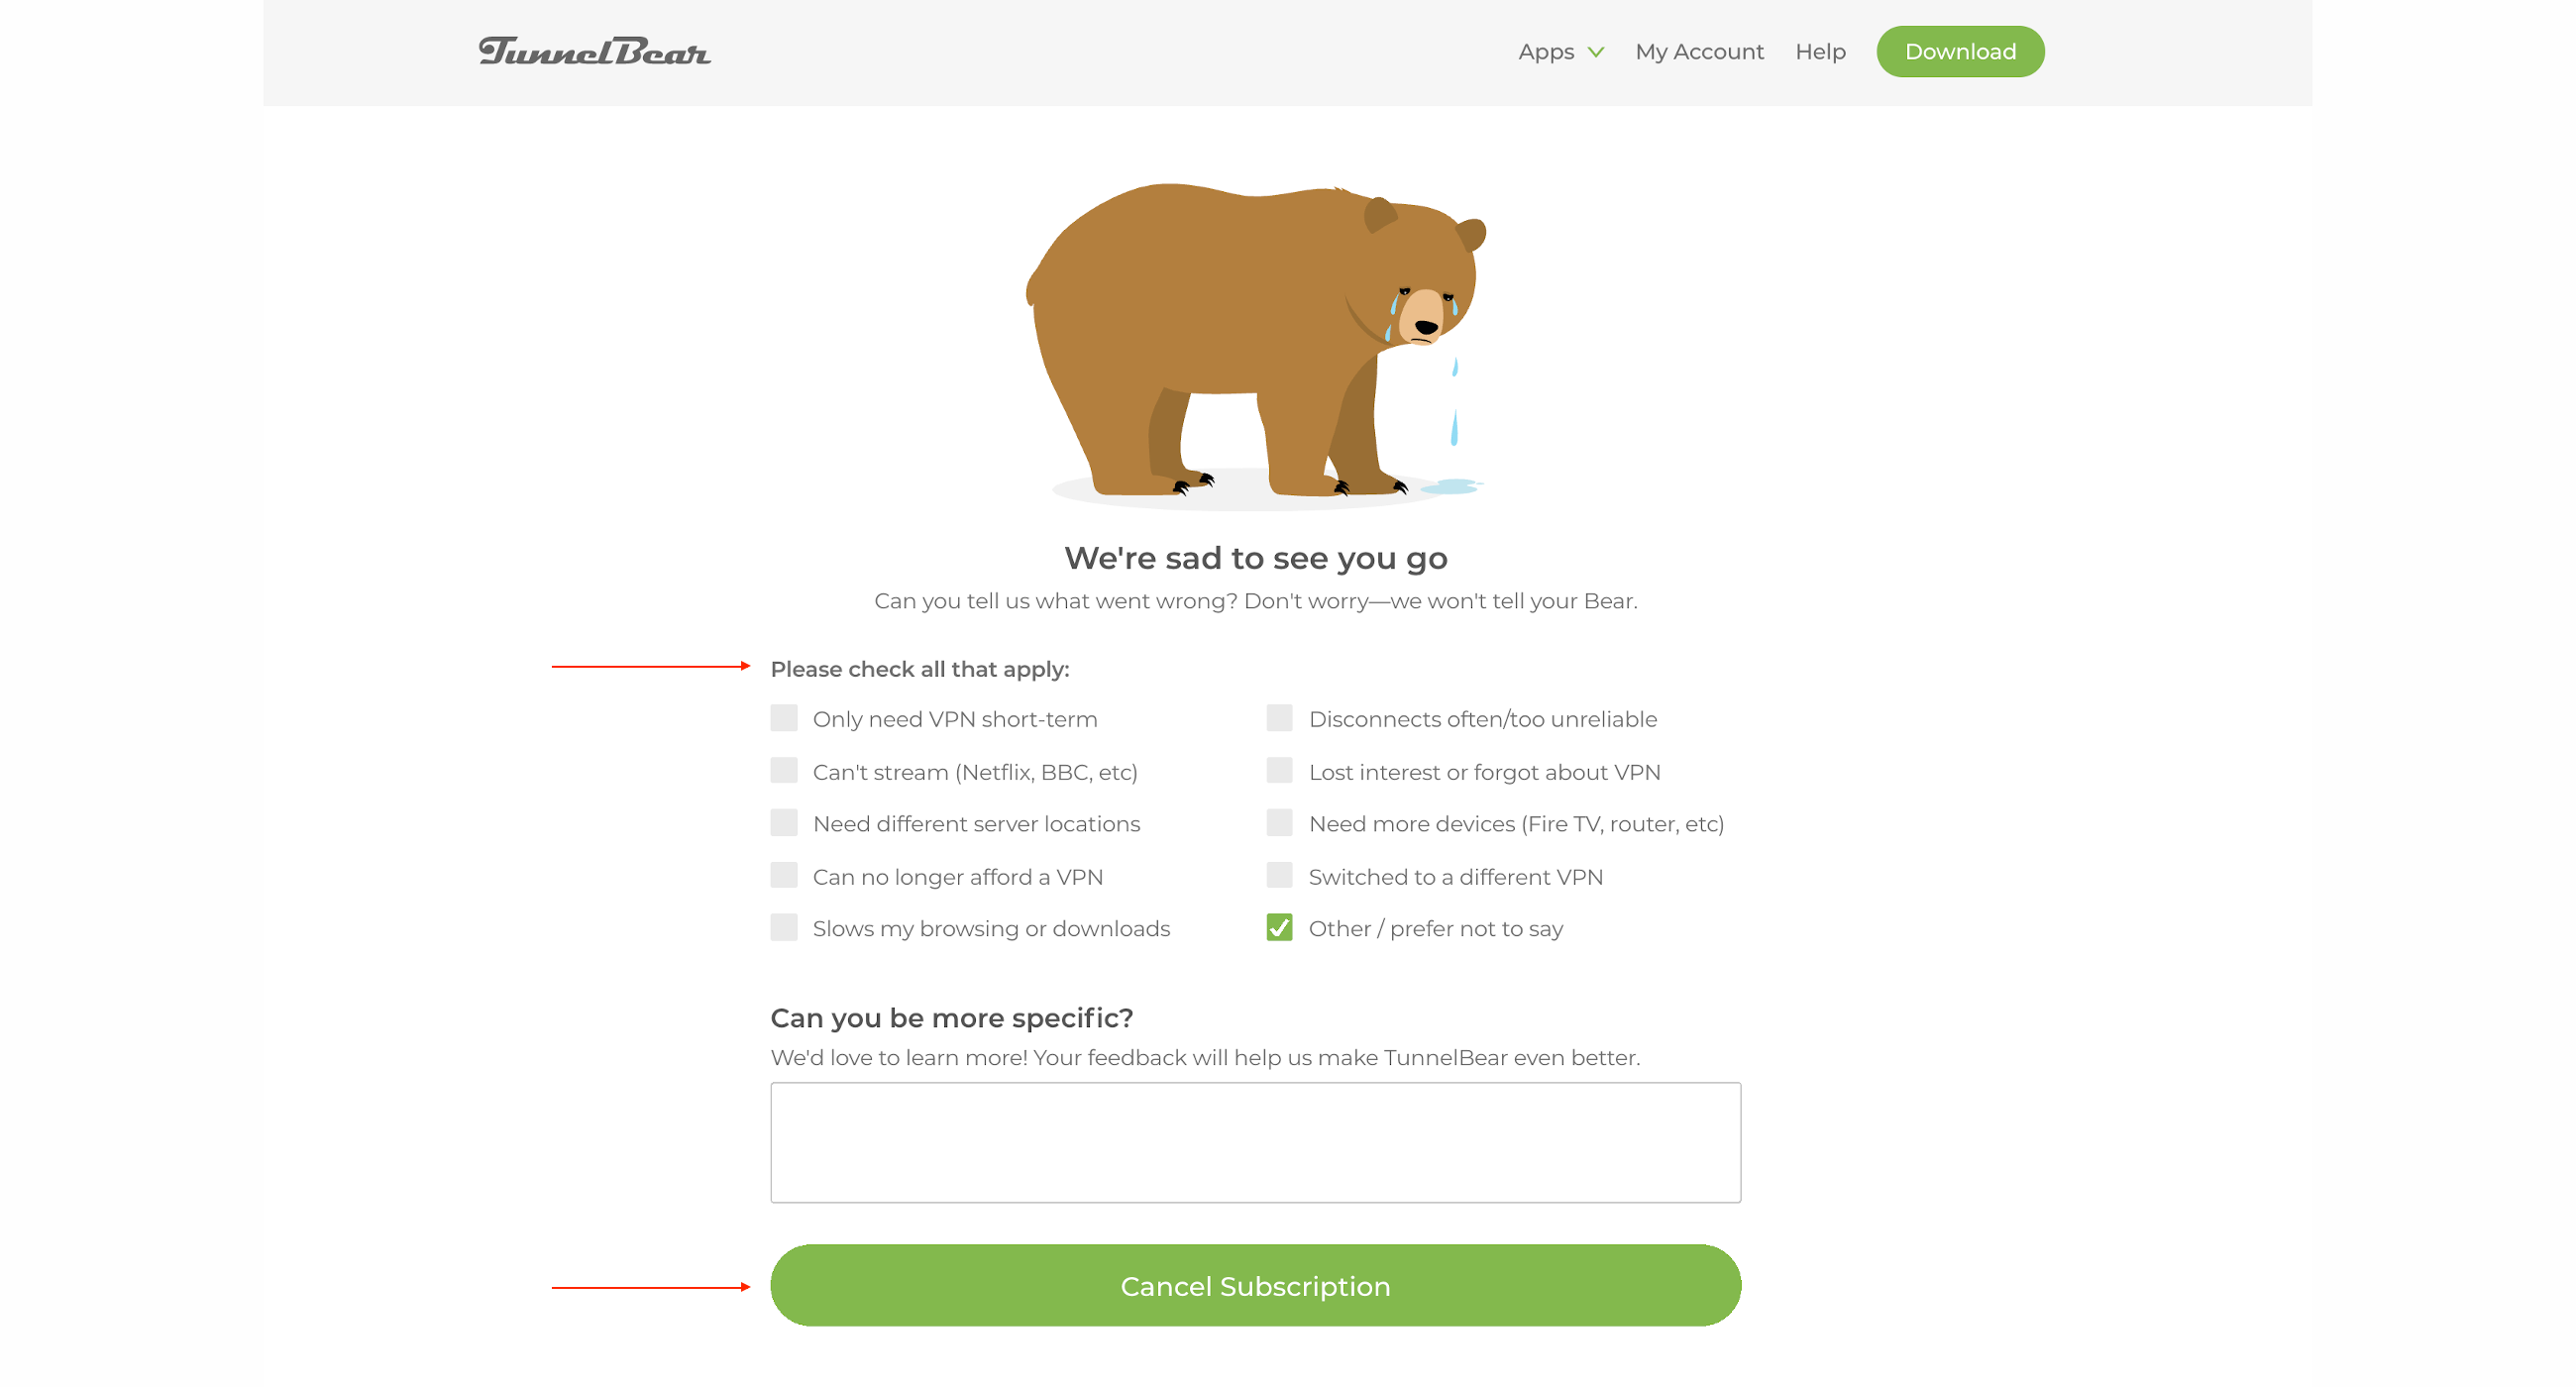
Step 2: Select reason for "Downgrading" and click "Cancel Subscription"

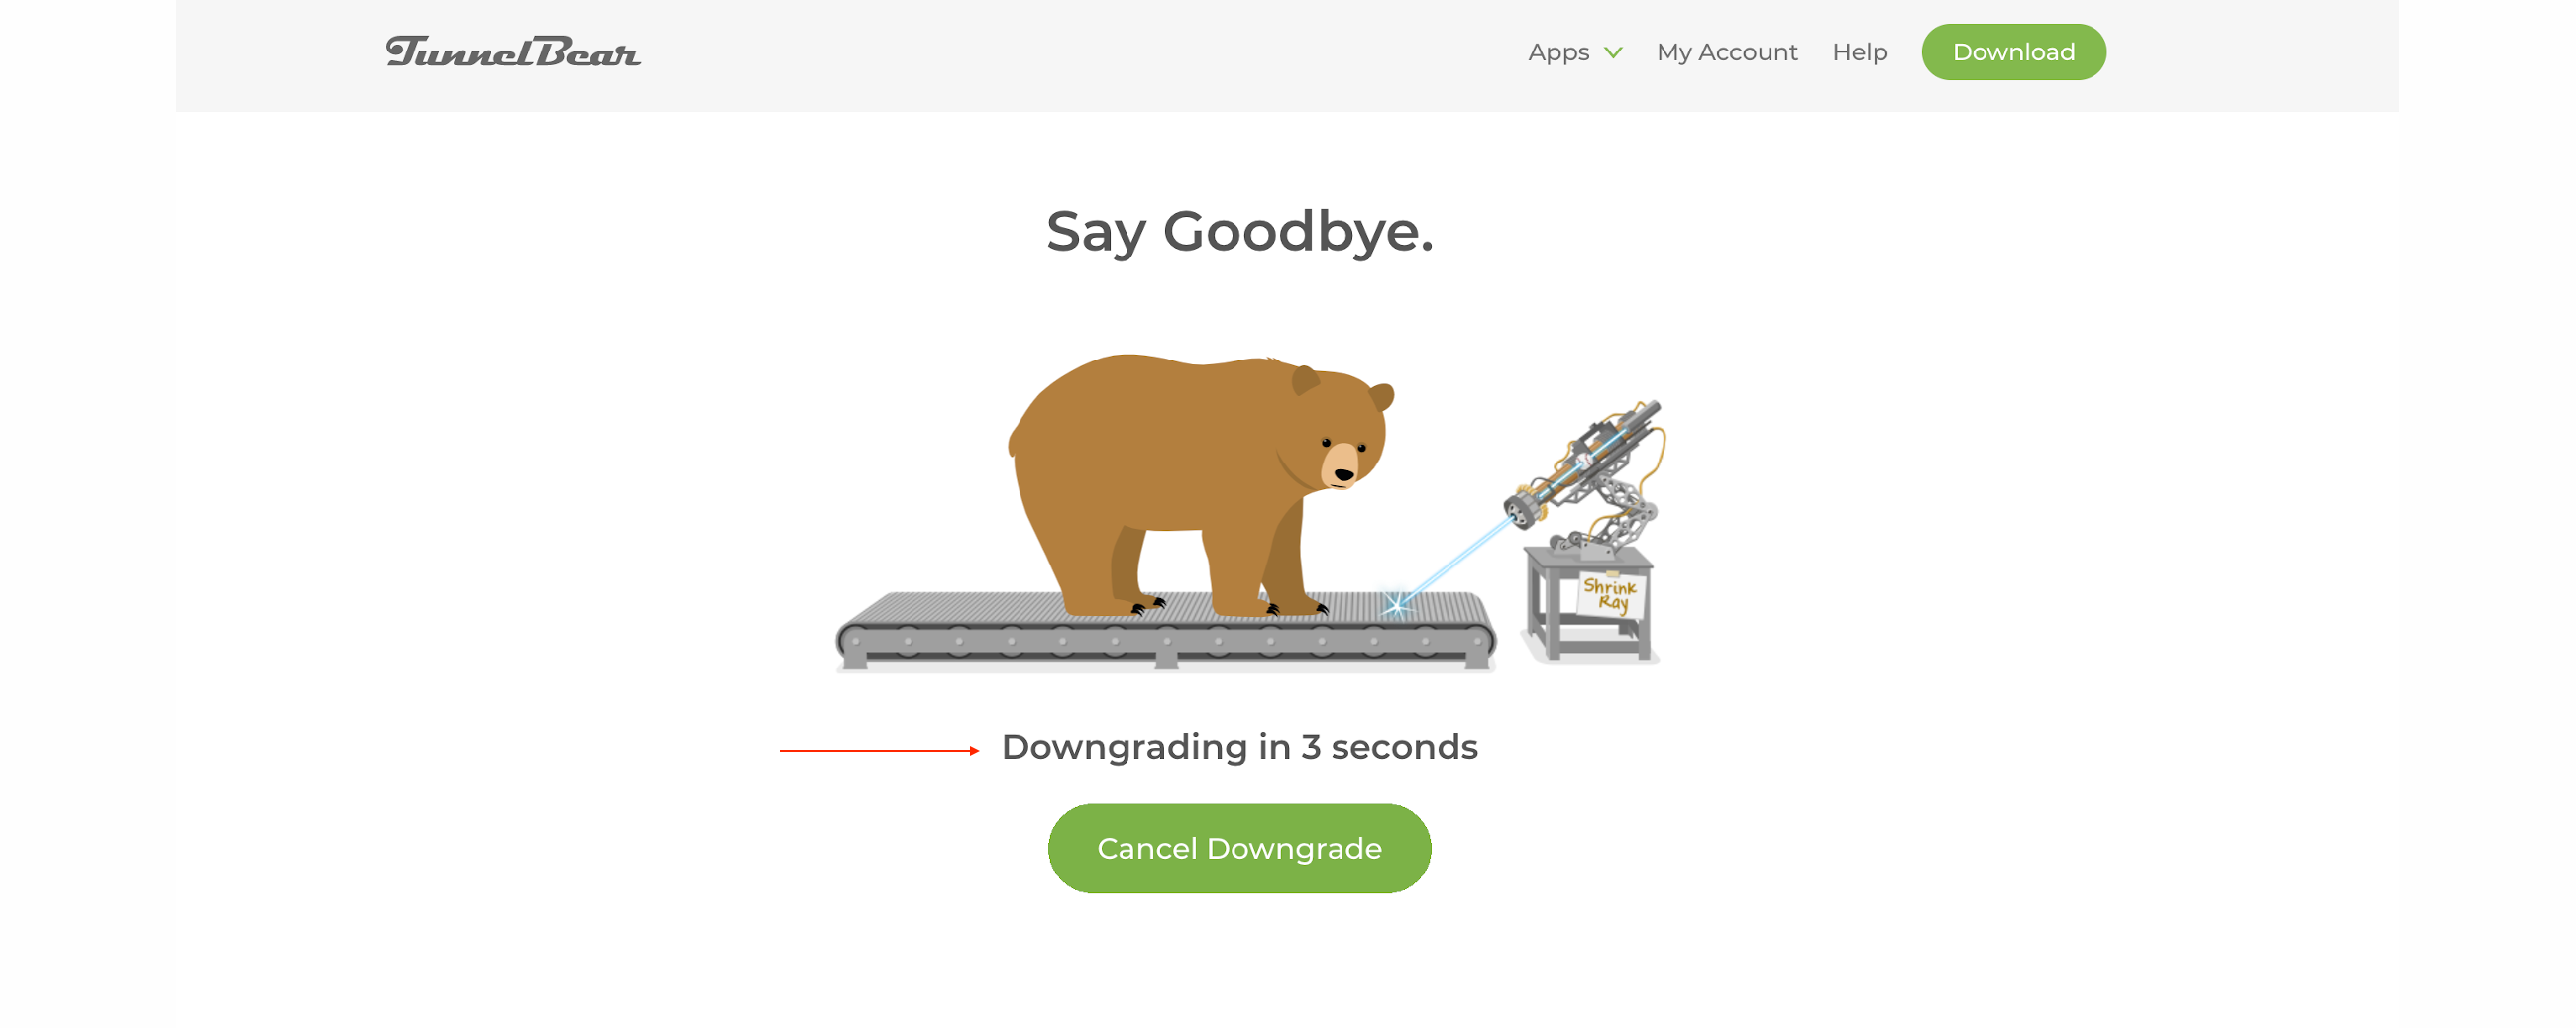
Step 3: Wait 10 seconds until 'Downgrading" is completed
Subscriptions purchased through mobile app stores (iTunes & GooglePlay)
If you have an iOS subscription, see this article for instructions on how to cancel. If you have a Google Play subscription, check out this article instead.
Cancelling TunnelBear for Teams subscriptions
If you have a TunnelBear for Teams account, head here for instructions on cancelling your account. Please note that only administrators can cancel a TunnelBear for Teams account.
Cancelling your subscription will not automatically trigger a refund.
After cancelling your subscription, you'll still have access to your unlimited data until the end of your subscription period.