In this guide, we’ll show you how to set up TunnelBear for your Windows computer.
Download the TunnelBear app
First, you'll have to download the TunnelBear app from our website.
Go to tunnelbear.com/download and wait until the download finishes.
Open your Downloads folder, double click on the TunnelBear-Installer file.

When prompted “Where do you want your Bear?”, click on the Install button.

Wait until the installation is complete.

Create a TunnelBear account
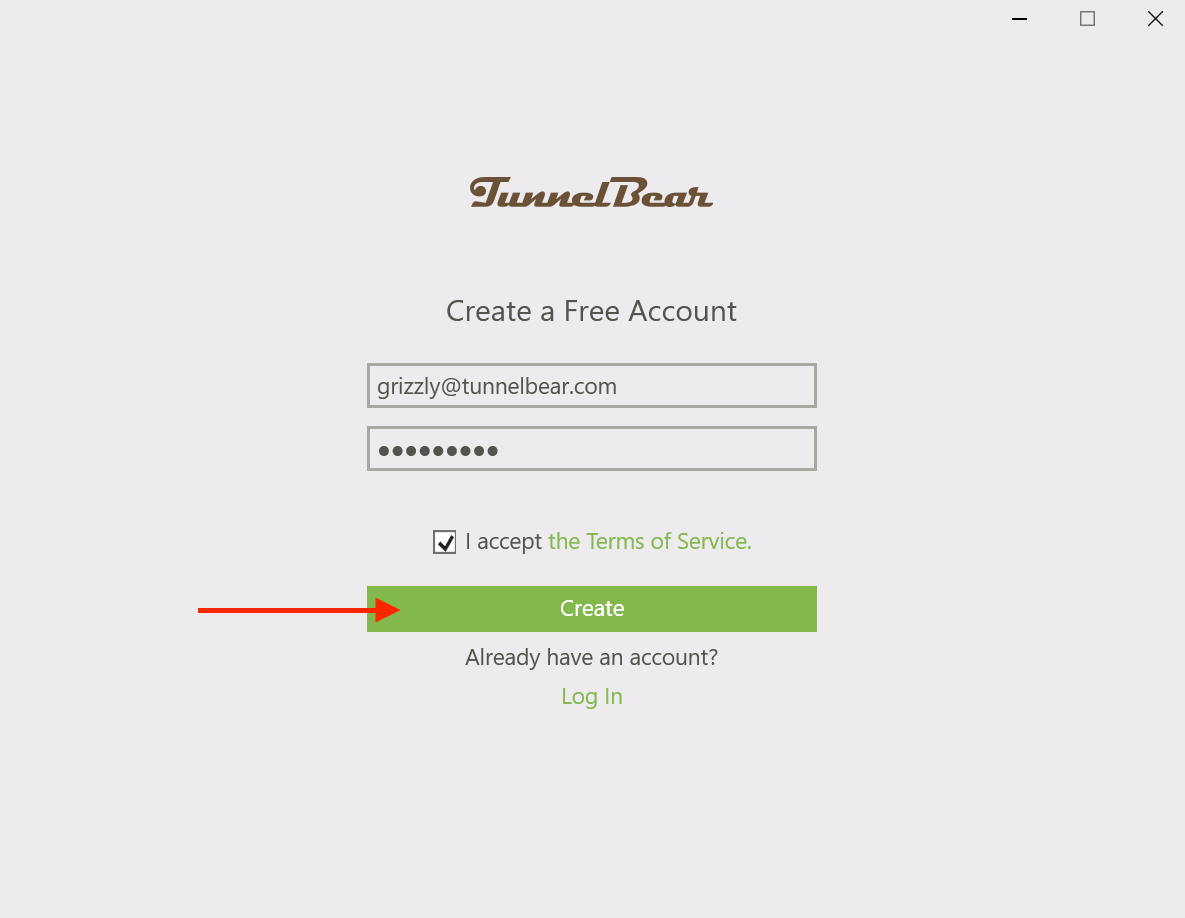
Click “Create a Free Account” if you haven’t already signed up for TunnelBear.

Enter your email address and create a strong password then skip to Verify Your Email.

Log In with an Existing Account
Click “Log in" under "Already have an account?" if you've already signed up.

Enter the account email and password you used at signup.

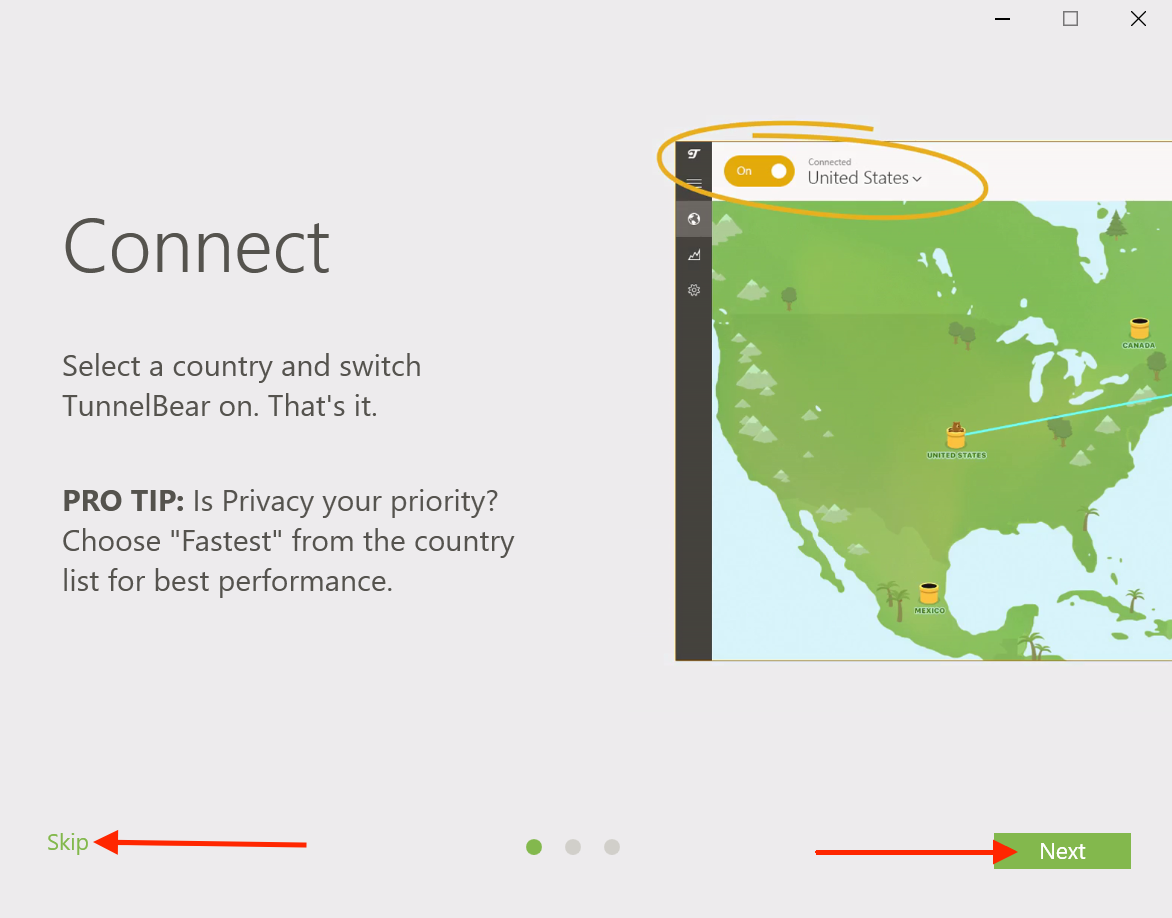
Read the Quick Guide by clicking on the “Next” button or click on “Skip” to continue.

Verify Your Email
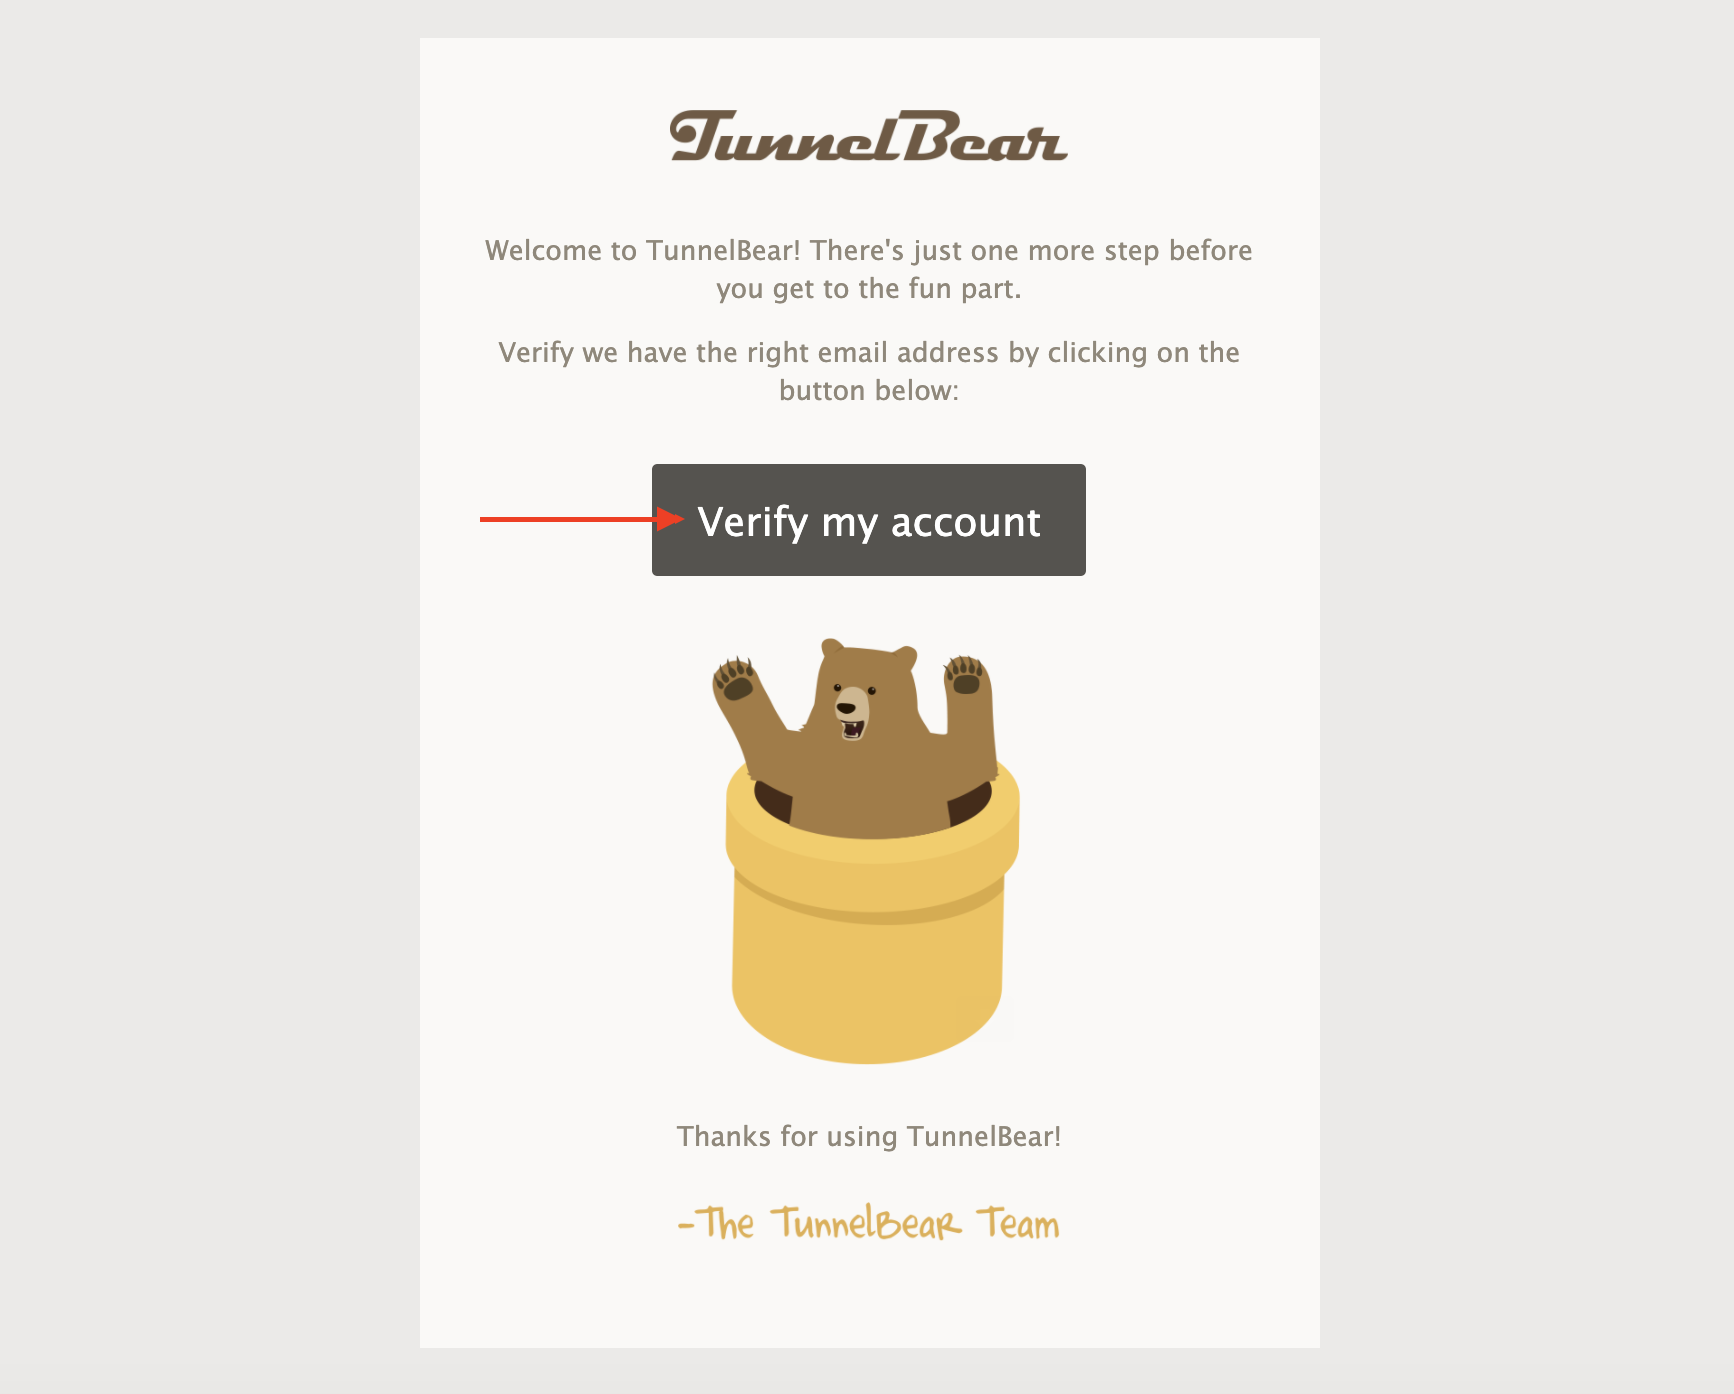
If you just signed up, check your email for a verification from TunnelBear and click “Verify my account”. If you already have an account, you can skip to Get Connected.

In the TunnelBear app, click “OK, verified” to bring you to the map.

Get Connected
Click the arrow next to the tunnel name (in this example, "Fastest") to display the country list.

Click the country you'd like to connect through.

You’re all set and ready to tunnel.

Your Bear is excited to help keep your internet connection secure, but if you have any questions about TunnelBear, our friendly Support Bears are always available.
Happy tunneling!